Once a physical Array has been associated with a modeled Array, the individual modules listed in the Array will be graphically arranged in Columns and a small square “indicator light” for each module. These indicators will periodically flash green to confirm that Resolution 2 has established active communications with each Anya module.
Clicking an Array in the Network Configuration Desktop will display it’s properties in the Properties View window (if you have the Properties View window opened) and can be edited as explained in the Properties View chapter.
Array Processing can be displayed and edited in real-time by double-clicking the EQ graph at the top of the Properties View window.
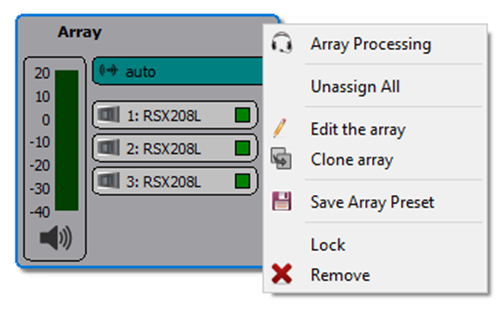
Right clicking an Array will open a menu with options to open Array Processing, Unassign All, Edit the array (which will launch the Array Assistant), Clone the array, Save Array Preset, Lock array movement, or Remove array. These mirror functions available in the Project Explorer and Properties panes.
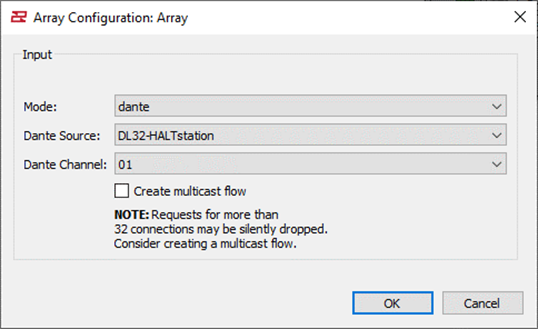
Double clicking the name of an Array will open the Array Configuration dialog.
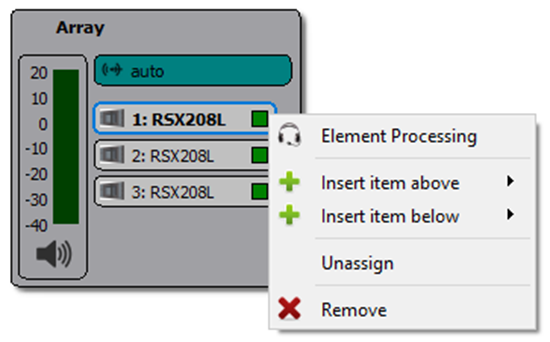
Right clicking a module in an Array will open a menu with options to Insert Item Above, Insert Item Below, Unassign, or Remove Array Item.
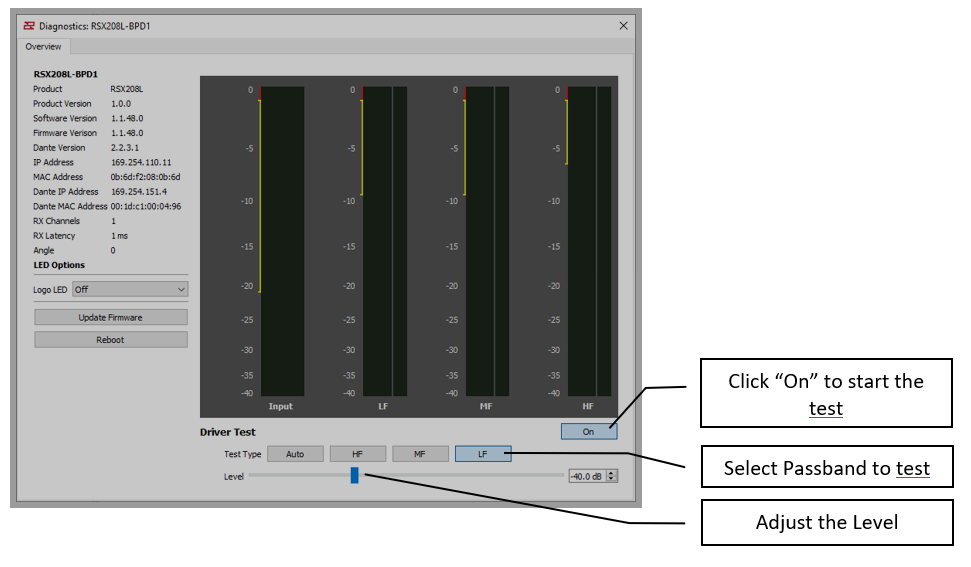
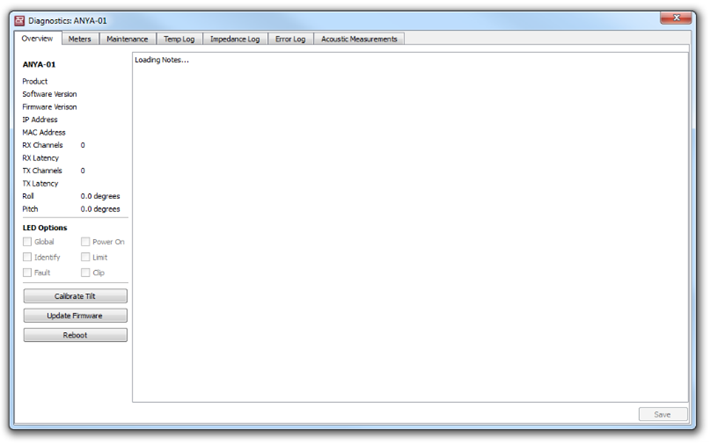
Double clicking a module will open the Diagnostics Window for that module
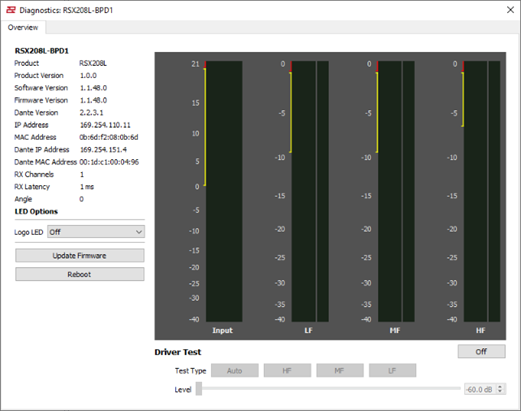
For online networked Radius Modules, it is possible to run a driver test on individual drivers, a group of drivers, or an auto sequence of each driver ending with a full range test.